Systeme.io Custom Domain: DNS Setup and Troubleshooting
To use a custom domain with Systeme.io, add the domain in your account, copy the DNS records Systeme.io provides, configure them at your DNS host and wait for verification.

Systeme.io custom domain: the setup in brief
Systeme.io custom-domain setup uses DNS records generated for the domain you add to your account. Official documentation says each added domain receives its own CNAME records, which must be configured with the DNS provider.
Do not copy DNS values from screenshots or another domain. Use the records shown inside your own Systeme.io account.
Plan the domain structure before touching DNS. If an existing website already uses the root domain, moving that hostname to Systeme.io can interrupt the current site. In that situation, a dedicated subdomain may be safer when only funnels or a specific property need to run on Systeme.io.
Root domain or subdomain?
Systeme.io publishes separate instructions for root domains and subdomains. Its subdomain guide (opens in a new tab) notes that a subdomain assigned to Systeme.io cannot simultaneously remain attached to another site.
Systeme.io generates records for the hostname you add. Copy those values directly from the account rather than using values from another tutorial, domain or screenshot. DNS targets can be specific to the configuration, so accuracy matters more than memorizing a generic example.
Four-step custom-domain setup
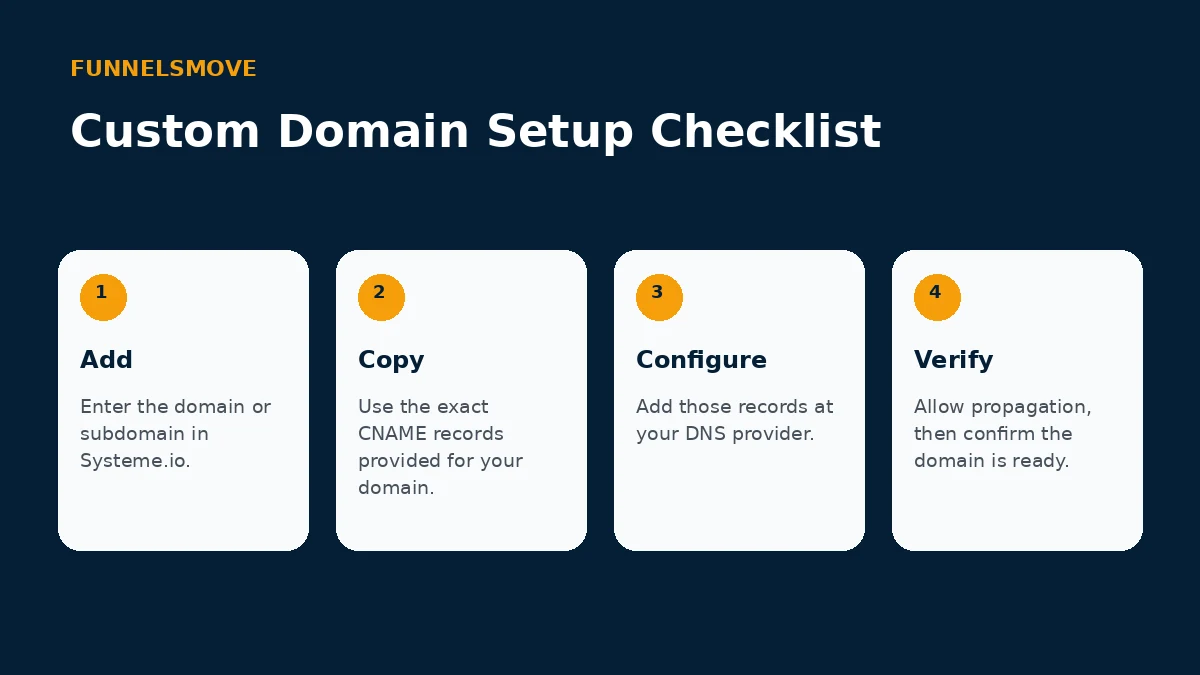
Add the intended domain or subdomain in Systeme.io, copy the exact records provided, create those records at your DNS provider, and then wait for DNS propagation and platform verification. Record names and targets must match what Systeme.io supplies for that specific domain.
For a broader site setup, see the Systeme.io website builder guide.
When adding CNAME records, pay attention to how the DNS provider formats hostnames. Some dashboards expect only the host label while others display the full domain. Follow the provider-specific instructions and verify the final resolved record instead of assuming the interface stored what you intended.
Root-domain requirements
The current root-domain documentation (opens in a new tab) instructs users to add the domain in Systeme.io and then configure the two CNAME records displayed. Follow the current interface instructions rather than relying on an old tutorial because DNS requirements can change.
DNS propagation is distributed, so a correct change may not appear everywhere immediately. Avoid repeatedly deleting and recreating records during the normal propagation window. That can restart troubleshooting without addressing the underlying issue.
Using Cloudflare or another DNS provider
Systeme.io maintains provider-specific instructions for Cloudflare, GoDaddy, Namecheap, Hostinger, IONOS and others. The Cloudflare guide notes that every domain added to Systeme.io has its own CNAME records. If your provider has proxying or flattening options, follow the provider-specific Systeme.io guide rather than guessing.
If Cloudflare manages the DNS zone, use Systeme.io’s current Cloudflare-specific documentation. Proxy settings and DNS behavior can differ from a traditional registrar interface, and provider-specific guidance is safer than applying instructions written for another host.
Verification and propagation
If the domain is not approved, Systeme.io recommends checking whether both CNAME records resolve to the expected targets. DNS changes are not always immediate; its troubleshooting documentation says propagation may take 24 to 48 hours in some cases.
Verification problems are usually easier to diagnose by checking the exact hostname and record target. Confirm there are no conflicting records, spelling differences or accidental root/subdomain mix-ups. Use a DNS lookup tool to see what the public record actually resolves to.
Common troubleshooting checks
- Confirm the domain entered in Systeme.io matches the intended host.
- Compare both DNS record names and targets character by character.
- Remove conflicting records only when the official instructions require it.
- Allow for propagation before repeatedly changing records.
- Use Systeme.io support or provider-specific documentation if verification still fails.
Domain configuration should also be tested from the visitor side after approval. Open the final HTTPS URL, check important pages, submit a form or test the intended funnel path, and make sure old links still point to the correct destination.
Keep the domain plan simple
Use a root domain when Systeme.io will operate the primary website, or a subdomain when you need to preserve an existing site elsewhere and route a specific section to Systeme.io. Choose the structure before publishing links so you avoid unnecessary URL changes later.
Keep a simple record of the domain purpose, DNS provider and Systeme.io property using it. That documentation becomes valuable when someone later changes nameservers, migrates the main website or investigates why a hostname stopped resolving.
Explore Systeme.io
See the current platform details and decide whether the workflow fits your business.
Explore Systeme.io (opens in a new tab)Frequently asked questions
How long can DNS changes take?
Systeme.io’s troubleshooting documentation notes that DNS propagation may take 24 to 48 hours in some cases. Many changes resolve sooner, but repeated edits during propagation can complicate diagnosis.
Can I connect a subdomain instead of the root domain?
Yes. Systeme.io publishes a separate subdomain integration process. A subdomain can be useful when the main website needs to remain hosted elsewhere.
Should I copy CNAME values from an online example?
No. Use the records shown for your domain inside Systeme.io. Examples explain the process, but the exact values for your configuration should come from your own account.