ClickFunnels vs GetResponse: Funnels, Email and Automation
ClickFunnels is funnel-first; GetResponse is email-and-automation-first. Both now overlap in landing pages and selling tools, so the better fit depends on which job should be central.
Start with the customer journey, not the editor. This guide shows the order in which a beginner should plan, build, connect and test ClickFunnels.
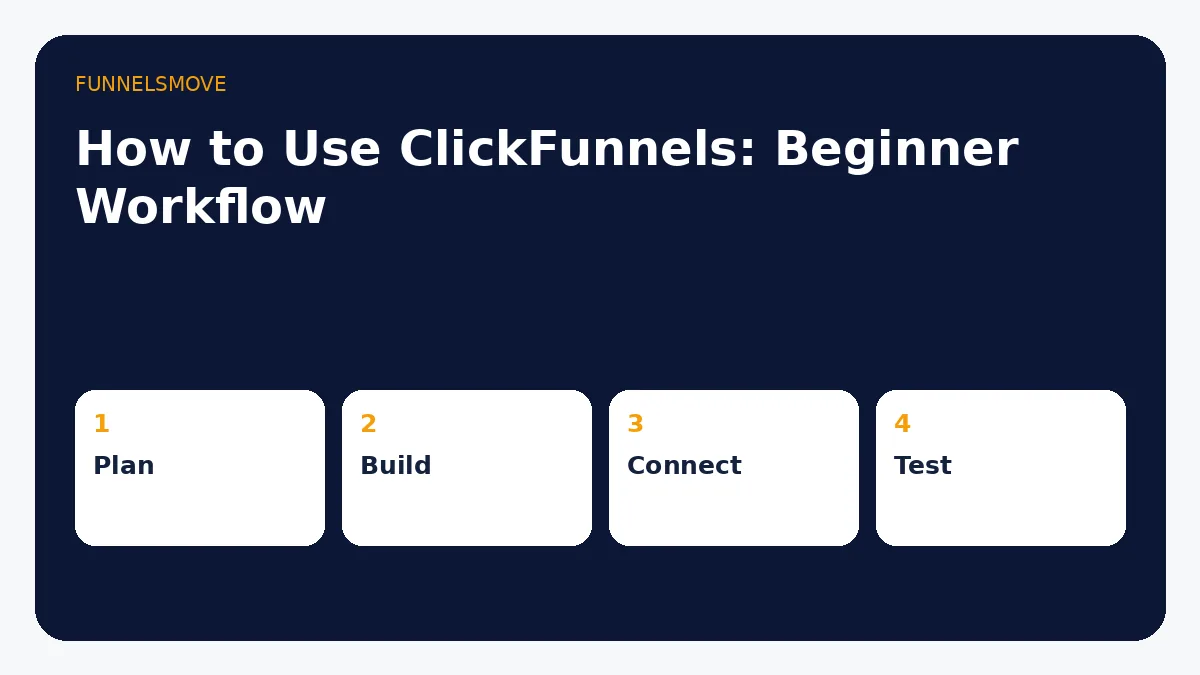
Define one offer and one next action first. Then create only the funnel steps needed to move a qualified visitor toward that action. ClickFunnels currently combines funnel pages with checkout, email, automation, courses, community, store and other business apps, so it is easy to add more than you need.
Write down the traffic source, first page, conversion event, follow-up and delivery step. For a lead-generation funnel, that may be traffic → opt-in → thank-you page → email follow-up. For a direct sale, it may be sales page → checkout → confirmation → delivery.
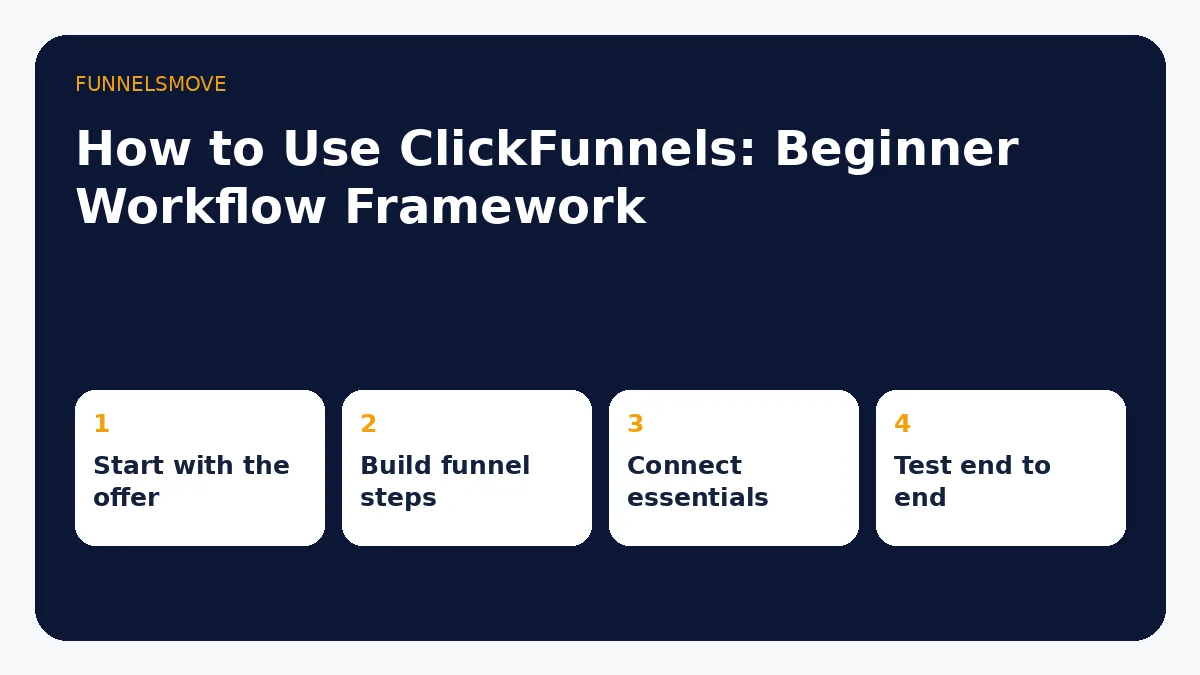
Use the visual editor to create the pages required by your map. ClickFunnels describes its editor as drag-and-drop and supports templates. Keep one primary action per step and make the message continue naturally from the traffic source.
Do not copy another business’s funnel structure without checking whether the buying decision is similar. A coaching application and a low-cost digital download usually need different levels of explanation.
Connect the domain, email or autoresponder workflow, payment method when selling, and any delivery system you actually need. If an existing specialist tool is important to your business, verify its current integration path before migrating data.
For a broader view of supported connections, use the ClickFunnels integrations guide.
Previewing pages is not enough. Test forms, email delivery, checkout where applicable, mobile layouts, confirmation pages, access delivery and analytics. Use a controlled test before sending paid traffic.
Avoid building many funnel steps before the offer is clear, buying a larger plan for hypothetical growth, and treating automation as a substitute for useful messaging. Also avoid assuming a funnel replaces every website use case; see our website-builder decision guide.
Once the core workflow works, improve one bottleneck at a time. The implementation cluster on FunnelsMove will cover integrations, website use, affiliate workflows and later task-specific ClickFunnels questions without creating separate thin pages for every wording variation.
| Stage | Goal | Output |
|---|---|---|
| Plan | Define journey | One-page funnel map |
| Build | Create essential steps | Working minimum funnel |
| Connect | Move data/payments | Verified integrations |
| Test | Validate experience | End-to-end test |
For a deeper implementation path, see manage, share and duplicate ClickFunnels funnels.
For a deeper implementation path, see ClickFunnels email marketing guide.
For a deeper implementation path, see ClickFunnels and Shopify integration guide.
For the implementation details, see ClickFunnels custom-domain setup.
For the implementation details, see ClickFunnels payment setup.
For the implementation details, see products and checkout setup.
For implementation details, see ClickFunnels Page Editor.
For implementation details, see branding and favicon guide.
For implementation details, see GA4 and tracking guide.
Before sending paid or organic traffic, use the ClickFunnels funnel testing checklist to verify pages, checkout, automation, tracking, and split tests.
Course creators can move from platform basics to the ClickFunnels course implementation guide for modules, lessons, enrollment, and delivery.
For acquisition after setup, see how to drive traffic to a ClickFunnels funnel without assuming paid advertising is required.
If organic search matters to your acquisition strategy, read whether ClickFunnels is good for SEO and when a CMS or hybrid setup may fit better.
To speed implementation, use the ClickFunnels templates guide to compare funnel templates, saved content, themes and Frameworks.
For registration, reminders, live or evergreen delivery and replay workflows, see the ClickFunnels webinar funnel guide.
For standalone campaign pages, read the ClickFunnels landing page guide alongside the broader funnel workflow.
Use the dedicated buyer comparisons for ClickFunnels vs Shopify, SamCart vs ClickFunnels, ClickFunnels vs Leadpages and Unbounce vs ClickFunnels. For the broader shortlist, see ClickFunnels alternatives.
ClickFunnels is funnel-first; GetResponse is email-and-automation-first. Both now overlap in landing pages and selling tools, so the better fit depends on which job should be central.
ClickFunnels can support focused buyer, seller and investor lead journeys, but it does not replace every real-estate website, MLS, transaction or CRM function.
ThriveCart is centered on checkout, billing and offer monetization; ClickFunnels is centered on the broader funnel journey. The best choice depends on what you need to replace.
The most useful ClickFunnels examples are not pages to copy pixel for pixel. They are funnel patterns that match a specific audience, offer and next action.
ConvertKit is now Kit and remains email-first. ClickFunnels is funnel-first. Both can capture leads and sell digital products, but they organize a creator business around different centers.
ClickFunnels centers the acquisition and sales funnel. ActiveCampaign centers sophisticated marketing automation, segmentation and integrated customer data. The overlap is real, but the operating priorities differ.
ClickFunnels can now support a conventional multi-product store as well as funnel-led ecommerce. The right fit depends on catalog complexity, fulfillment and how much of the buying journey you want to organize around funnels.
A good ClickFunnels specialist should solve a defined business and implementation problem—not simply promise a 'high-converting funnel.' Scope the work, verify relevant evidence and protect account ownership before hiring.
Verify the current offer, plan limits and terms before subscribing.
Explore ClickFunnels (opens in a new tab)Product facts were checked against these official ClickFunnels sources on September 3, 2026. Third-party services and product interfaces can change.
ClickFunnels can send one-time broadcasts and automated workflow emails. Plan which system owns subscriber data, sending identity, campaigns and lifecycle automation before connecting additional autoresponders.
Once multiple campaigns exist, routine operations matter: sharing a funnel, duplicating it for a variation, cloning one step, and archiving completed work all solve different problems.
Use the editor reference for page-level media and custom code, the branding guide for favicon and badge settings, and the tracking guide for GA4 and advertising pixels.
Page Editor reference → · Branding & favicon → · Tracking & analytics →
Use the tracking guide to configure measurement, then run the funnel testing workflow before launch.
For billing changes, team access, workspaces, pausing, downgrading, or cancellation, use the ClickFunnels account-management guide.
Use the ClickFunnels SEO guide to evaluate metadata, blogging, indexing, sitemaps, and when WordPress or another CMS may be preferable.
Use these implementation guides when you need reusable starting points or campaign-specific page flows.
For an alternative connected marketing suite, see Kartra vs ClickFunnels and compare your own funnel and email requirements.